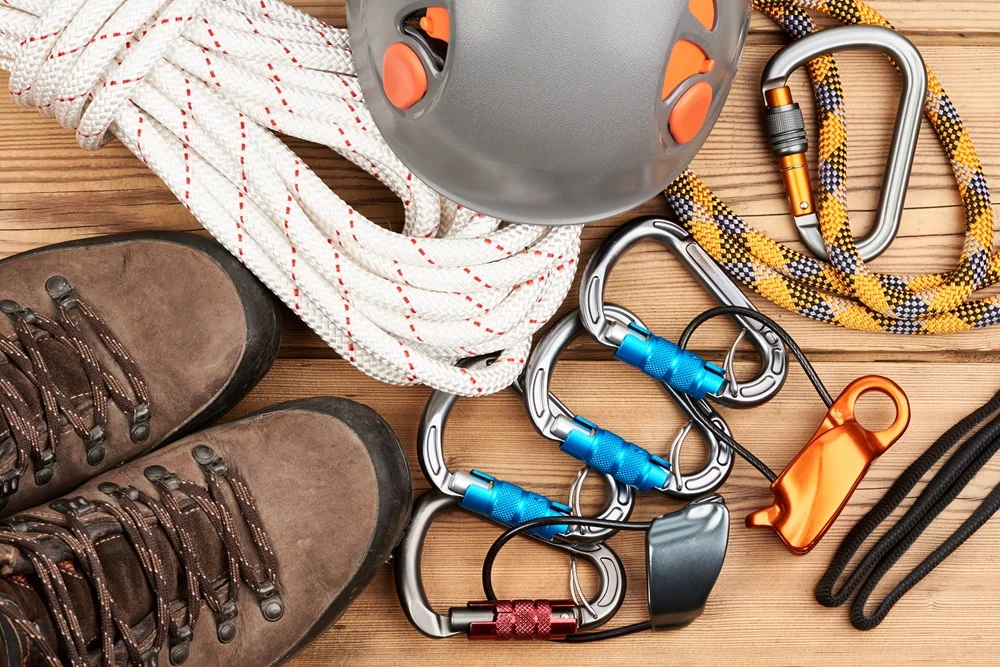








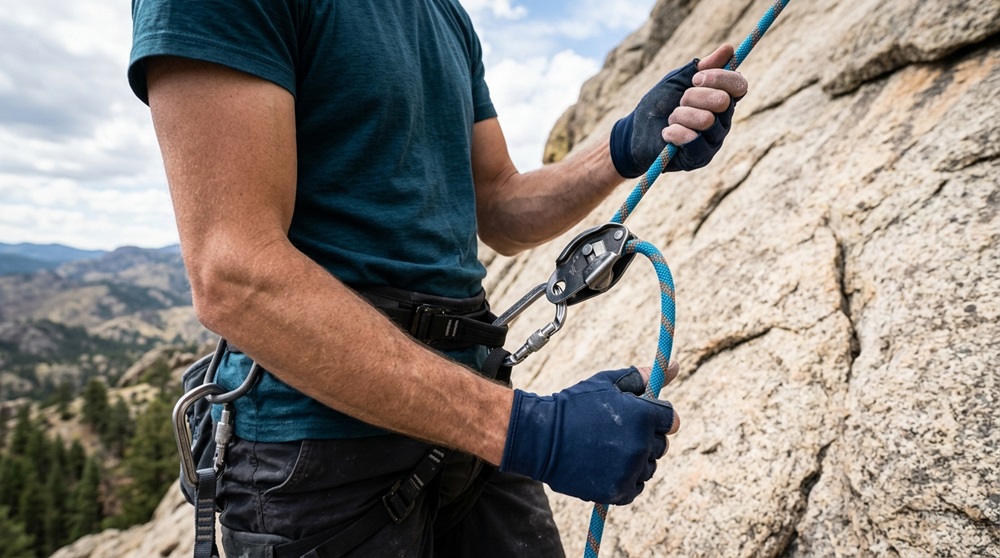
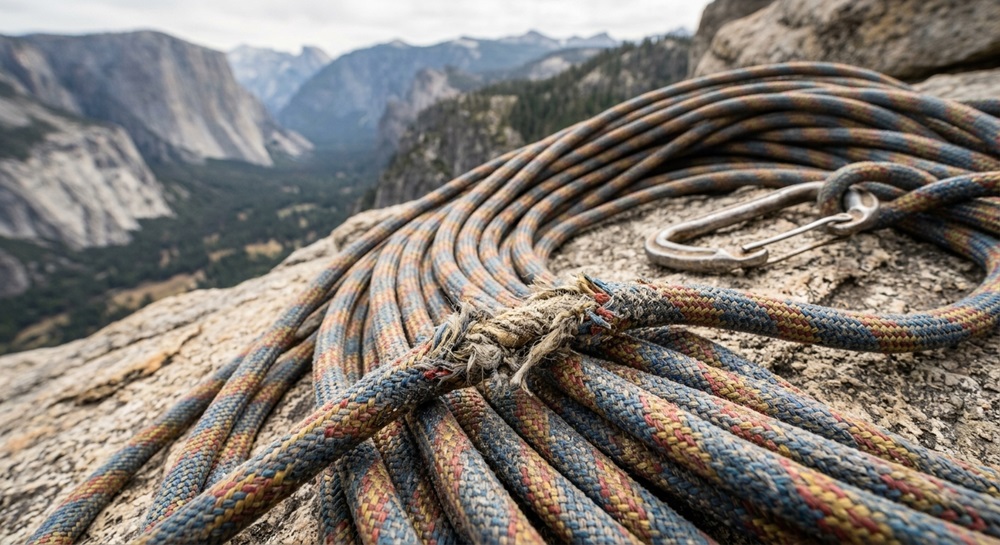
A rope that’s too old to catch a whip still has a perfectly good sheath on it. Pull the core out and that outer braid flattens into webbing about 25mm wide, which is roughly belt width already.
If you don’t have a used climbing rope taking up space in your gear closet, ask at your local gym. They’re usually sitting on a pile of retired ones and will hand them over or sell them very cheap.
Here’s the full process.
What you need
- A retired dynamic rope, about twice your belt length (you sew 2 flattened strips together)
- Pliers
- A sewing machine that can handle thick layers. The Singer Heavy Duty 4423 works well for this
- Heavy thread, bonded nylon in size 69 or 92
- A lighter or a hot knife
- A frame buckle or 2 D-rings, like these 1 Inch Metal D-Rings
- Optional: a Beal Rope Brush for the wash
The 7 steps
1. Wash the rope. It’s usually disgusting. The water turns black and that’s normal. A top-loading washing machine is easiest. A tub of warm soapy water and a rope brush also works. Let it dry all the way through before you touch anything else.
2. Cut to length. Measure your waist, add some for the buckle wrap, and cut.
3. Pull the core out. Grab the core at one end with pliers and pull. On most dynamic ropes this comes out easily and it’s oddly satisfying. Static ropes will test your patience. Once the core is gone, the sheath flattens on its own and starts looking like a belt.
4. Line up the strips. Fold or cut your flattened sheath into 2 lengths and lay them side by side. Two strips give you a 25mm belt that holds its shape.
5. Zigzag stitch down the full length. Run the seam from end to end with the 2 flattened pieces together. Go slow. Nylon slips.
6. Seal the ends. A lighter does the job. A hot knife is cleaner if you own one. If you’re only making 1 or 2 belts, heat an old steak knife over a camp stove instead. The wooden handle keeps your hand cooler when you’re doing a few in a row, and you probably shouldn’t use that knife for food afterward.
7. Sew on the buckle. This is the hard part. Wrap the end around your buckle or both D-rings and stitch through every layer. The stack is thick and your machine will feel it. If you plan to upgrade one thing, get a machine with higher presser foot clearance. It makes this step much less painful.
Burn off the thread ends and you’re done.
One thing to be clear about: the core carries the load in a climbing rope, so a gutted sheath has no climbing strength left. Wear the belt. Don’t climb on it.
FAQ
How much rope does 1 belt take?
Around twice your belt length, plus 20cm or so for the buckle wrap and mistakes. A 60m rope will keep you busy for a while.
Can I skip the sewing machine?
You can hand-sew it with a stitching awl and waxed thread. It takes much longer, and the buckle wrap is the part that will hurt your hands. If you only want 1 belt, it’s doable.
What thread should I use?
Bonded nylon. It resists UV and abrasion better than cotton or all-purpose polyester, and it’s what most webbing gear is sewn with. Match the needle to the thread weight or you’ll snap needles on the buckle wrap.
Should I turn the sheath inside out?
Some people do. The weave looks about the same on both sides, and flipping it puts the abrasion damage on the inside. It’s fiddly on long sections, so try it on a short piece first.
Can I use the same rope for dog collars or watch straps?
Yes. Same steps, shorter lengths, smaller hardware. Nylon webbing breathes better than leather or plastic, which is why the watch strap version works nicely in hot weather.