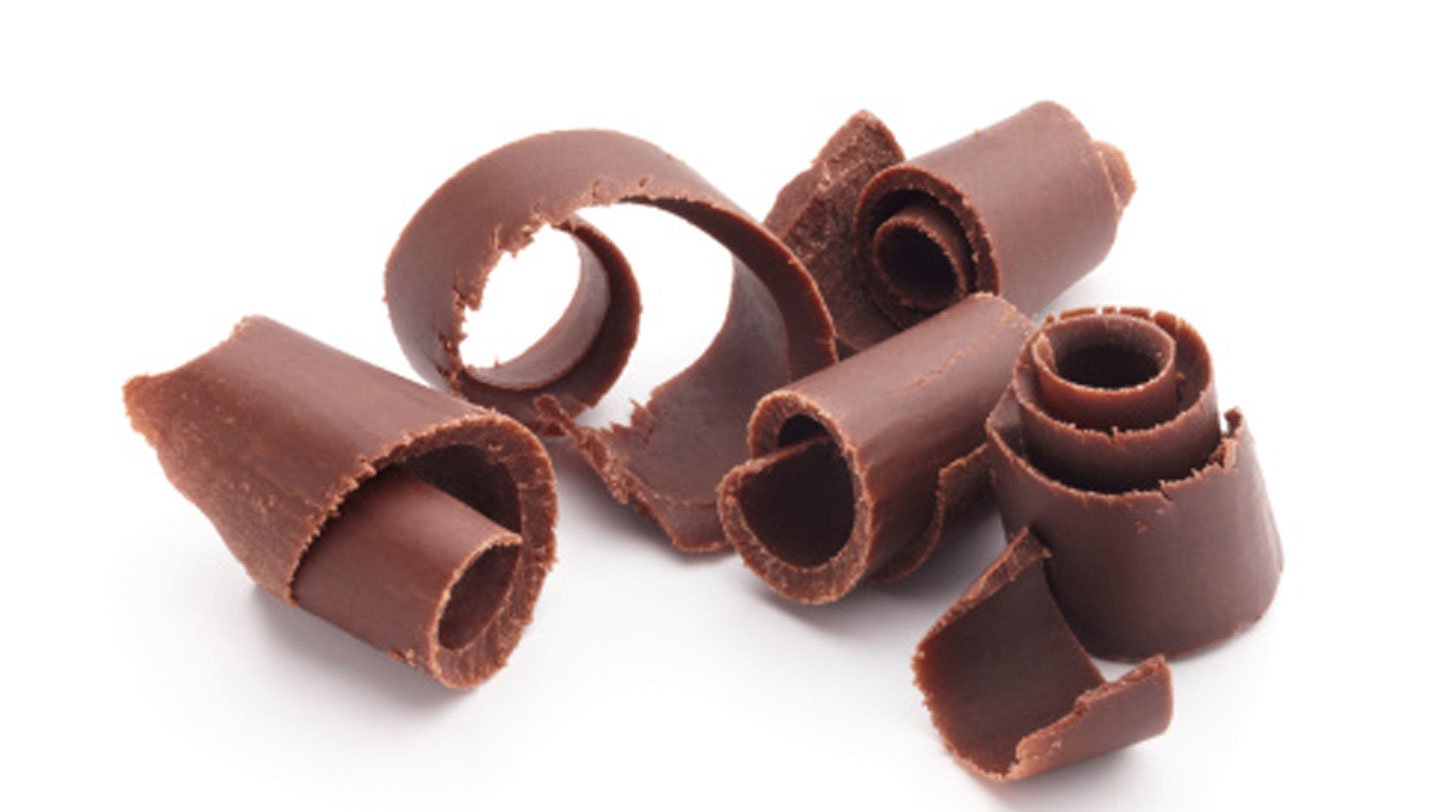
To give a gourmet touch to sweets, make decorative chocolate curls. You may use a few as a garnish or adorn handmade or store-bought sweets with various colours and sizes.
Ingredients you need:
- 1 quart of water
- 1 big chocolate bar or 1 cup of chocolate chips
Knife Techniques
#1. Melt the chocolate in a double boiler.
In a double boiler or saucepan, pour about one cup of water. Melt one cup of chocolate or a big chocolate bar gently in a heat-safe dish that can be put on top of a pot over low heat.
#2. Once the chocolate starts to melt, keep stirring continuously.
Your batch will be destroyed if you overheat the chocolate or allow water droplets to enter the mixture.
#3. Remove the chocolate from the heat soon as it begins to melt.
Stir everything together well. The chocolate must be silky smooth. Allow the chocolate to cool somewhat before using.
#4. On top of a baking sheet, place a piece of waxed paper.
Using a spatula, thinly spread the chocolate. To expel any air bubbles, pick up the baking sheet and gently tap it on a flat surface a few times.
#5. Allow the chocolate to set.
It should take approximately 20 minutes to complete this task. Refrigerate or freeze the chocolate sheet to speed up the cooling process. Place the cooled sheet on a non-slip, stable surface.
#6. Take a long knife’s blade and place it at the end of your chocolate sheet.
Scrape the blade of the knife gently towards you, creating chocolate curls. When using a pastry scraper or spatula to create chocolate curls, press the tool away from you until a curl develops.
#7. To create different-sized chocolate curls, change the way you scrape.
For bigger curls, scrape in a long and steady stroke all the way down the chocolate sheet, or scrape in a shorter motion for smaller curls. Scrape the chocolate at different angles to create a variety of curls.
Using a tool such as a serving fork, skewer, or toothpick, gently lift the curls. Add them to your main courseor dessert. That’s it!
Rolling Pin Techniques
#1. Roll out the dough using the rolling pin.
A piece of waxed paper should be wrapped around your rolling pin. Use scotch tape to secure the paper to the rolling pin, or put rubber bands on both ends of the rolling pin to hold the paper in place. To catch any dropping chocolate, cover the surface with a big piece of waxed paper.
#2. Make the curl.
Using a ladle, a big spoon, or a cup, scoop up some melted chocolate. Slowly drizzle a tiny quantity of chocolate onto the rolling pin. Drizzle the chocolate in a zig-zag pattern along with the rolling pin. Allow the chocolate to cool on the rolling pin until it is nearly solid. You can use them while doing any chocolate decorations.
#3. Allow time for the mixture to settle.
Remove the chocolate off the rolling pin with care. Store on a waxed paper-lined baking sheet and place in the fridge or freezer until firm. Use right away or keep in the freezer in a zip-lock bag until required.


