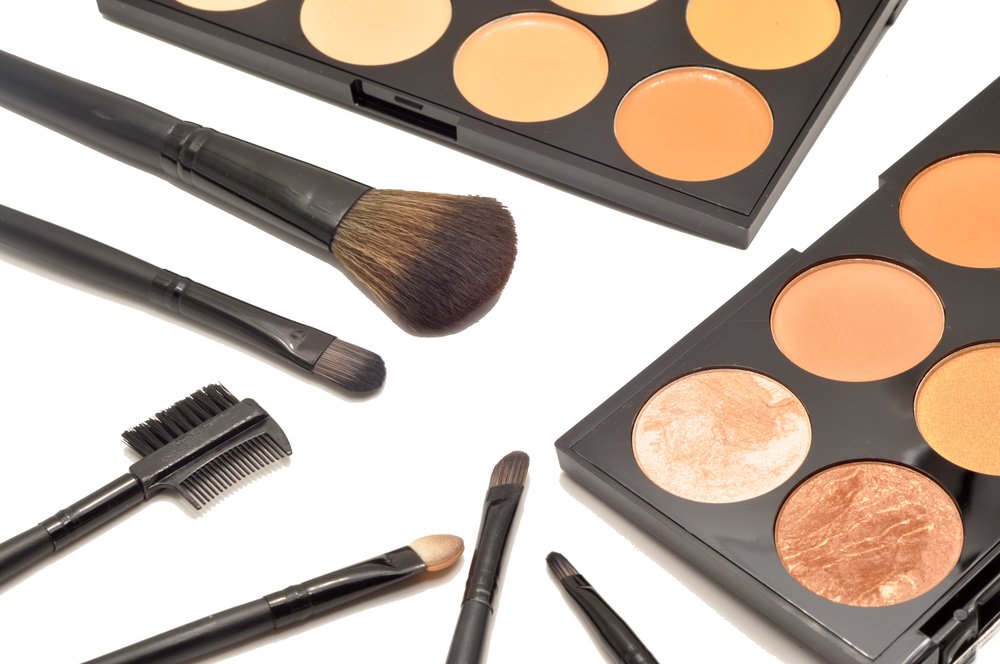
Concealer is your go-to product for concealing anything from dark circles and blemishes to hyperpigmentation and redness but picking the proper one may be time-consuming.
How to match your skin tone? Should you go for a lighter option? What if your concealer doesn’t completely hide your flaws? In this blog post, we provide the inside scoop on choosing the best eye concealer for you and how to use it after you’ve found it.
How To Pick A Concealer Color?
When it comes to concealer, we recommend picking a shade that is “the same hue as your skin tone to cover everything on the face, then going one or two shades lighter on the under-eye region. Try swiping a couple of different hues down your jawline and see which one looks the best.
You’ll need natural light for this, so walk to a window or go outdoors and examine your jawline with a hand-held mirror. Use a shade lighter than the one you’ve picked for the rest of your face to cover visibly dark under-eye circles or to emphasize regions of the face. Go a shade or two darker for contouring.
How To Pick A Coverage Level?
Because any obstinate dark circles and blemishes will likely need a lot of pigment, you’re better off going with a full-coverage concealer. If you prefer a thinner concealer, combine it with a drop of oil or serum, or only use foundation on days when you’ve had enough sleep and your skin appears clean.
Are you ready to put your concealer to the test? Here are the best ways for…
#1. Getting Rid of Dark Circles
When concealing dark circles, I strive to remove the discoloration first and then go back with a concealer that completely matches the complexion. This method entails using a peach-toned primer or a concealer that’s a few shades lighter to reduce darkness, followed by a second layer that matches your skin tone and foundation.
Even if your under-eye circles aren’t very dark, an upside-down concealer triangle beneath the eye might help to brighten up a tired-looking face. If you use a concealer with light reflection or brightness, you may just need a lightweight application.
#2. Getting Rid of Puffiness
We suggest using a caffeine-containing eye cream first, then wiping the area with a tissue before applying concealer. In this case, product placement is critical. Rather than applying concealer to the bag itself, put it beneath it where it seems dark.
#3. Getting Rid of Blemishes
A fine-tipped concealer brush or a liquid liner brush should be added to your makeup kit if you’re prone to pimples or have minor problem spots that need more coverage. Tap the concealer into the area that requires coverage and softly pat with your finger.
Then, using a fluffy brush, mix a concealer that matches the skin around the spot. Finish with a translucent powder, but pat it in rather than sweeping it away, or you’ll undo all your hard work.
#4. Reducing The Intensity of Redness
Apply a coat of green-toned color corrector or primer to your skin before applying concealer. On the color wheel, Green is the polar opposite of red; thus, it will balance off ruddiness. Apply a concealer that is an excellent match for your skin tone after that.
#5. Contouring & Highlighting
I love highlighting and contouring using cream and liquid concealers. Traditional contour powders may be challenging to blend or seem muddy, and sparkly highlighters might be too much for daytime. The best eye concealer creams and liquids, on the other hand, are often matte or somewhat luminous and mix effortlessly with a foundation for a natural-looking contoured face.

