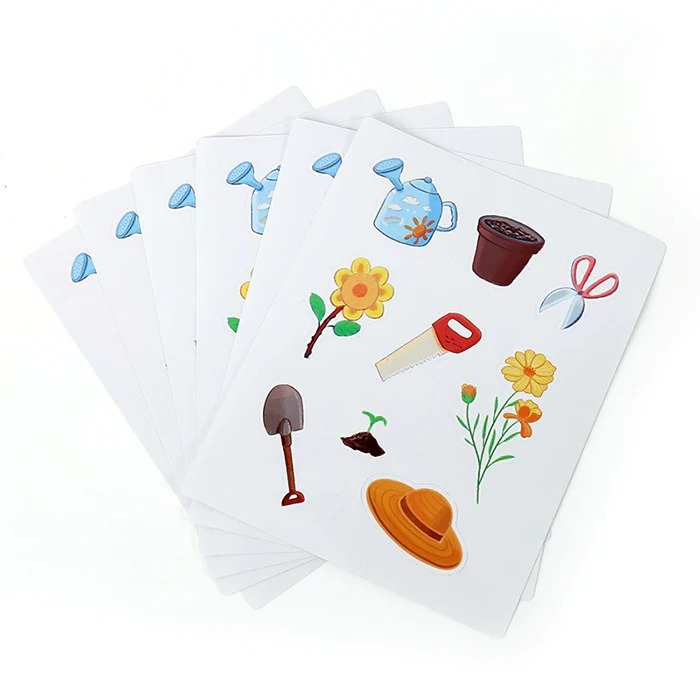
Stickers are a fun and creative way to express yourself, promote your brand, or decorate your belongings.
But did you know that you can make your own custom kiss-cut stickers at home?
Kiss-cut stickers are stickers that are cut to the shape of your design but leave a thin border of backing paper around them.
This makes them easy to peel off and stick anywhere you want.
In this article, we’ll show you how to cut custom kiss-cut stickers using different methods and tools. You’ll learn how to design, print, and cut your stickers using a cutting machine, a printer, and a pair of scissors.
How to Design Your Stickers?
The first step to making custom kiss-cut stickers is to design your stickers.
You can use any image editing software, such as Photoshop, Illustrator, or GIMP, to create your sticker design.
You can also use online tools, such as Canva or PicMonkey, to design your stickers.
Here are some tips to keep in mind when designing your stickers:
Use high-resolution images
Your stickers will look better if you use images that are at least 300 dpi (dots per inch). This will ensure that your stickers are crisp and clear when printed.
Remove the background
To make kiss-cut stickers, you need to have a transparent background around your design.
This will allow the cutting machine or the scissors to cut along the edge of your design.
You can use the magic wand tool or the eraser tool in your software to remove the background from your image.
Add a bleed area
A bleed area is a small margin around your design that extends beyond the cut line. This will prevent any white gaps or misalignment when cutting your stickers.
You can add a bleed area of about 0.125 inches (3 mm) around your design using the crop tool or the canvas size tool in your software.
Save your file as a PNG
A PNG file is a format that preserves the transparency of your image. This will make it easier for the cutting machine or the printer to recognize the cut line of your sticker.
You can save your file as a PNG by choosing “Save As” and selecting “PNG” from the drop-down menu in your software.
How to Print Your Stickers
The next step to making custom kiss-cut stickers is to print your stickers. You can use any inkjet or laser printer that can print on sticker paper.
Sticker paper is a special type of paper that has an adhesive backing and a glossy or matte finish. You can find sticker paper online or at any craft store.
Here are some tips to keep in mind when printing your stickers:
- Choose the right sticker paper for your printer. Inkjet printers work best with inkjet sticker paper, while laser printers work best with laser sticker paper. Using the wrong type of sticker paper can damage your printer or result in poor-quality prints.
- Adjust the print settings. Before printing, you need to adjust the print settings on your printer and your software. Make sure that you select the correct paper size, paper type, and print quality for your sticker paper. You also need to turn off any scaling or fit-to-page options that might distort or resize your image.
- Print a test page. Before printing all of your stickers, it’s a good idea to print a test page on a regular sheet of paper. This will help you check if the colors, alignment, and size of your stickers are correct.

How to Cut Your Stickers?
The final step to making custom kiss-cut stickers is to cut your stickers.
You can use different methods and tools to cut your stickers, depending on your preference and budget.
Here are some of the most common ways to cut custom kiss-cut stickers:
Using a Cutting Machine
A cutting machine is a device that can cut various materials, such as paper, vinyl, fabric, and leather, using a blade or a laser.
Some of the most popular cutting machines are Cricut, Silhouette, and Brother ScanNCut.
These machines can connect to your computer or smartphone and scan or import your sticker design.
Then, they can automatically cut along the edge of your design with precision and speed.
Here are some tips to keep in mind when using a cutting machine:
Calibrate your cutting machine
Before cutting, you need to calibrate your cutting machine to ensure that it cuts accurately and smoothly.
You can do this by following the instructions on your machine’s manual or website.
Load the sticker paper
You need to load the sticker paper onto a cutting mat, which is a sticky surface that holds the paper in place while cutting.
Make sure that the sticker paper is aligned with the grid lines on the mat and that there are no wrinkles or bubbles on the paper.
Then, insert the mat into the cutting machine and press the load button.
Cut the stickers
You need to select the cut option on your cutting machine and choose the appropriate settings for your sticker paper.
For example, you might need to adjust the blade depth, pressure, and speed depending on the thickness and texture of your paper.
Then, press the start button and wait for the machine to cut your stickers.
Using a Printer and Scissors
If you don’t have a cutting machine, you can still cut custom kiss-cut stickers using a printer and a pair of scissors. This method is more manual and time-consuming, but it can also be more flexible and creative.


